A drawing can feel like one complicated problem. In practice, it contains smaller decisions: where a line starts, how two shapes compare, which area is darker and what you leave out. Learning the foundations helps you notice those decisions.
You do not need to perfect all seven skills before drawing a subject you enjoy. Use them as a way to identify what is making your current drawing difficult. The exercises below need only a pencil, paper and an ordinary object.
Observation: draw what is there
It is easy to draw the symbol you remember instead of the object in front of you. A cup becomes a rectangle with a handle, even when its rim is tilted and its sides taper. Observation means comparing what you see before deciding what to draw.
Place a cup on a table. Notice its widest part, the angle of the rim and the space inside the handle. Sketch only its outline. Look back at the cup between marks. The goal is to notice relationships, not to add decoration.
Negative space can help. Draw the empty shape inside the handle, then compare it with your reference. An unfamiliar empty shape is often easier to observe than a familiar object.
Line control: make deliberate marks
Line control is not about never making a shaky line. It is about choosing a direction and moving with a little more intention. Pressing too hard early can make corrections difficult and hide the construction of the drawing.
Mark two points and move your hand between them without touching the paper. Then draw the line lightly. Repeat with curved lines and ellipses. Change the direction rather than filling a page with the same movement.
When checking the exercise, notice whether the line follows the intended path. Avoid judging each mark as a success or failure. A few focused repetitions are more informative than a page made in a hurry.
Shapes: simplify before adding detail
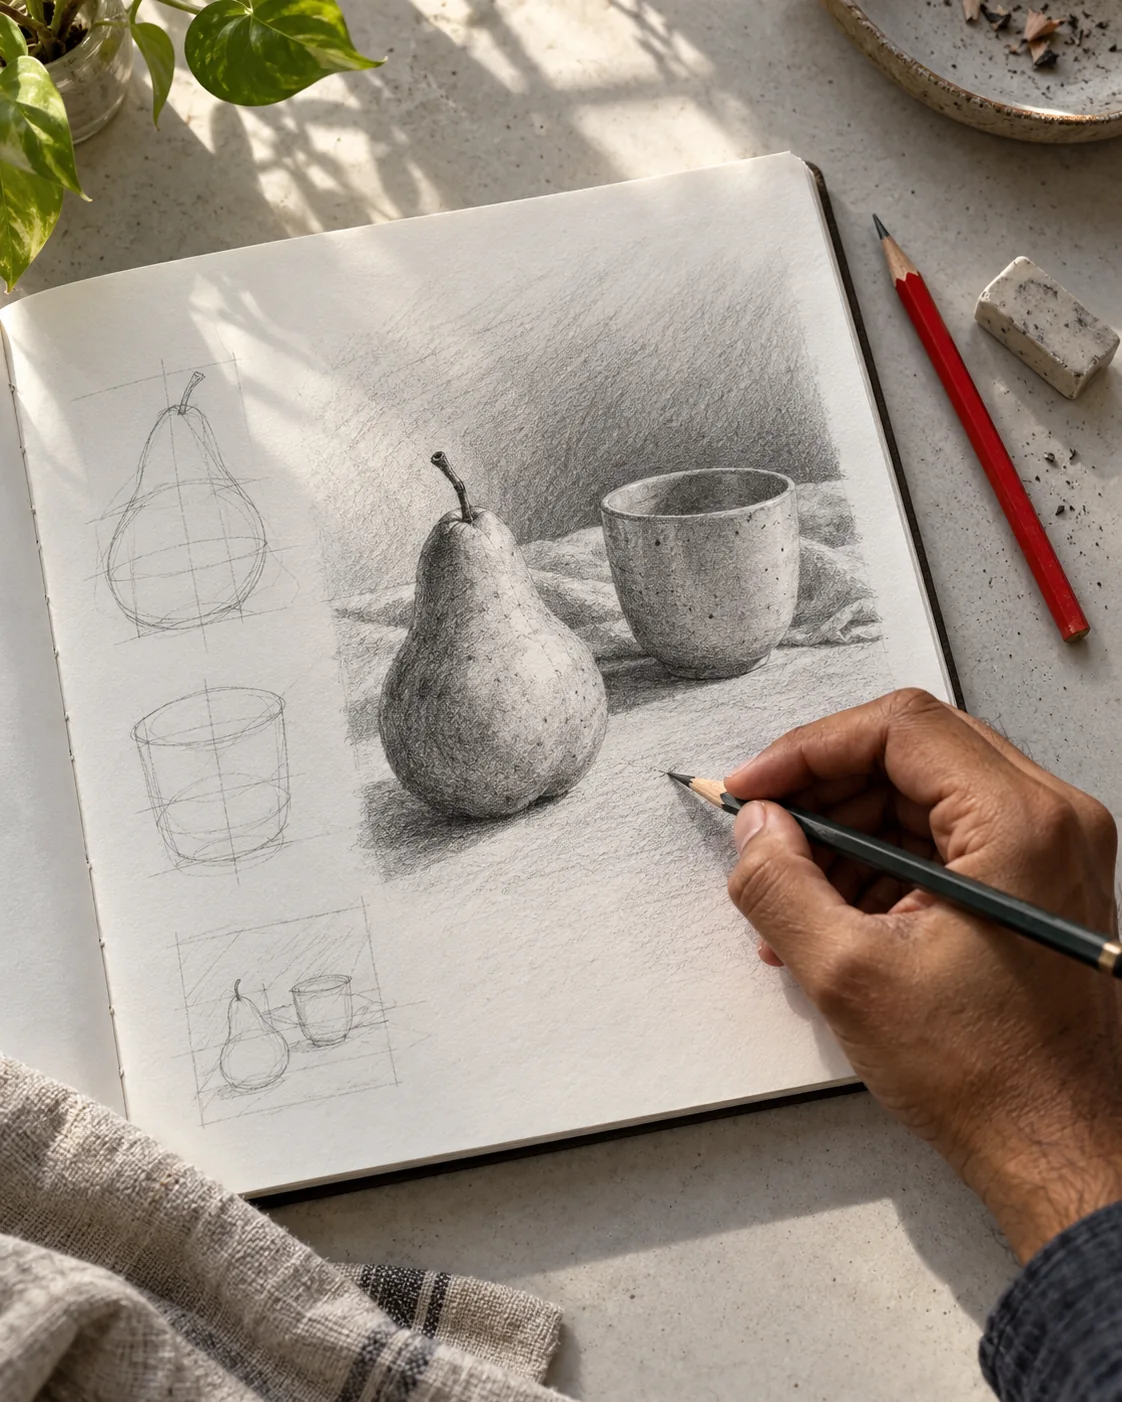
Most subjects can be started with a small number of simple shapes. A pear might begin as an oval and a narrower upper form. A chair can begin as a few angled quadrilaterals rather than a collection of detailed edges.
Choose one object and block in its largest shapes. Keep your marks light and leave out surface texture. Ask whether the object is recognisable from these simple relationships. If it is not, adding small details is unlikely to solve the larger issue.
Proportion: compare parts with each other
Proportion is a relationship, not a single correct measurement. Compare the subject’s height with its width, then compare its smaller parts with the whole. An accurate handle attached to an overly narrow cup will still look unusual.
Before drawing, estimate a simple ratio in words: “a little taller than it is wide” or “the handle reaches halfway down”. Sketch a light bounding shape and compare your drawing with the object. Use the same viewpoint throughout the exercise.
Form: give shapes volume
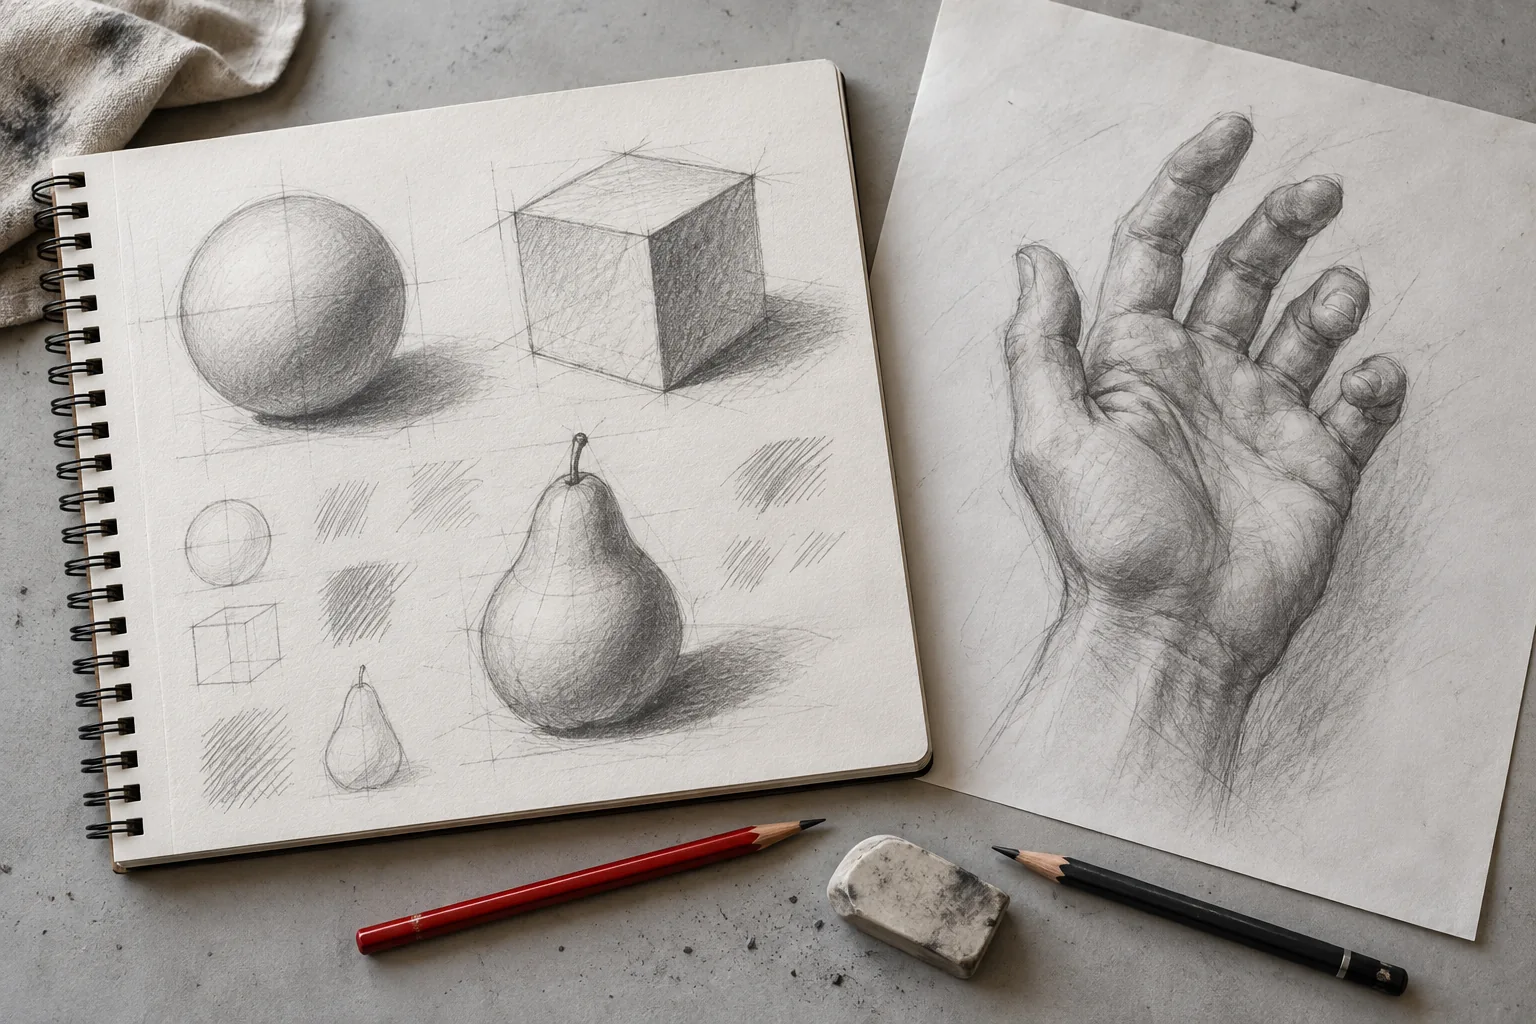
A circle is flat; a sphere has volume. Drawing forms helps you think about the parts of a subject that turn towards or away from you. Boxes, cylinders and spheres are useful starting points, even for complicated subjects.
Draw a box, then add a cylinder next to it. Decide which surfaces face you and which turn away. Keep the perspective simple. Do not assume every visible edge should have the same length or angle. If a form looks odd, inspect the construction before covering it with shading.
Value: organise light and dark
Value means how light or dark an area is. A drawing with carefully organised values can feel clearer than one filled with tiny details. Before shading, decide where the light comes from and identify a few broad value groups.
Make a row of five boxes, moving from the lightest tone you can create to a darker one. Then draw a simple object using just light, middle and dark groups. Look at the largest shadow shapes first. Keep the brightest areas clean instead of trying to erase them back after pressing hard.
Composition: choose what matters on the page
Composition is the arrangement of the drawing, not an advanced skill reserved for finished artwork. Where you place the subject, how large it is and what space you leave around it change how the page reads.
Draw three small rectangles and make a different arrangement of the same object in each. Try one close-up, one with more space and one placed off-centre. Compare them before choosing a larger drawing. Small thumbnail sketches let you test an idea cheaply.
Put the foundations together gradually
Choose one exercise from this list, then apply it to a subject you like. If the drawing becomes difficult, name the decision you are struggling with. That is a better starting point for a lesson or mentor feedback than deciding you are simply “bad at drawing”.
For a structured sequence, explore NIDAL’s beginner drawing lessons and try the first chapter. Keep your early attempts: they will be useful references for the next ones.